Guide

How to Nest DXF Files with Sheet2Nest — Step-by-Step Guide

This guide walks through a complete nesting job in Sheet2Nest using the built-in sample file—ideal for your first run before uploading production DXF files.

About 8 minutes · 20 steps

How do I nest DXF files with Sheet2Nest?

Sign in at https://sheet2nest.com, open the Nesting Wizard, upload or load a sample DXF, review detected parts, set quantities and sheet dimensions, configure spacing, run the nest, then review utilization and export nested DXF, SVG, or PDF. Full screenshot walkthrough: https://sheet2nest.com/guides/nesting-wizard.

Video walkthrough

Step by step

  1. Open the Sheet2Nest homepage in your browser.

    Sheet2Nest homepage
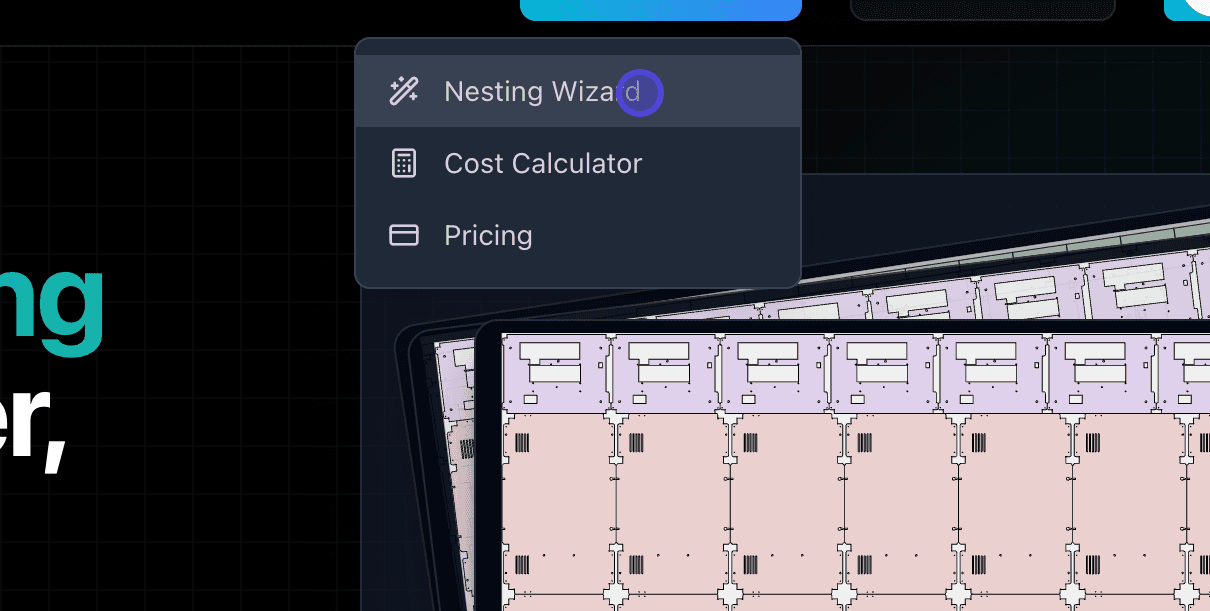
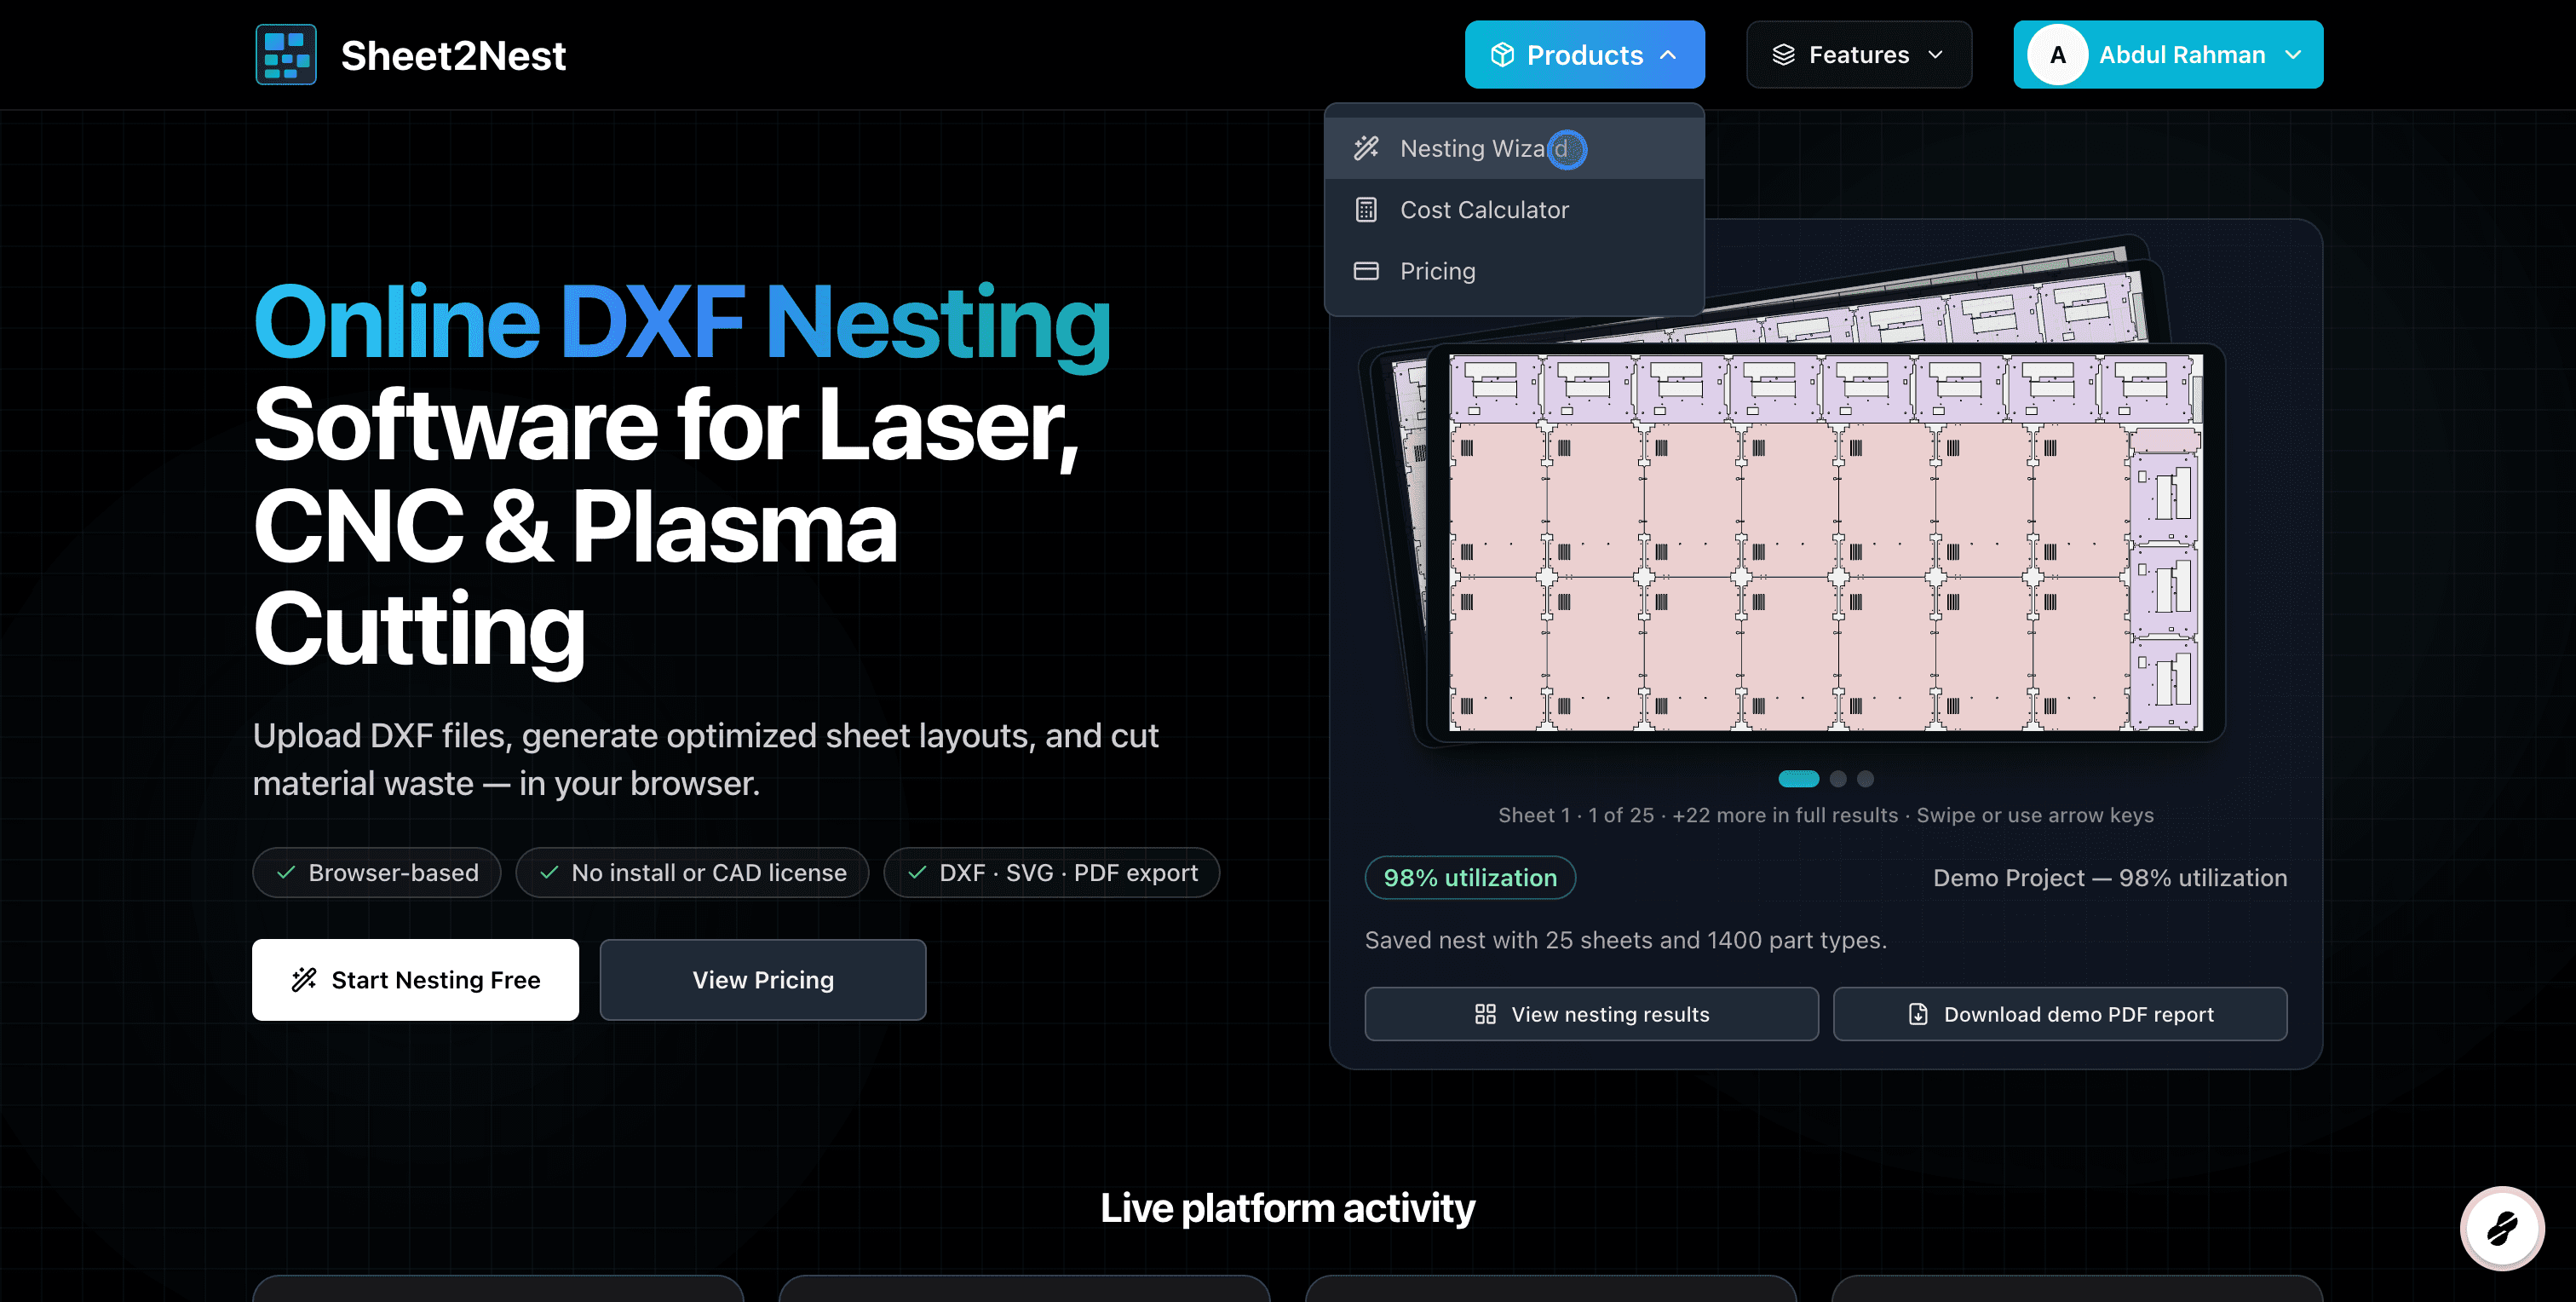
  2. From the homepage or navigation, choose Nesting Wizard to start a new job.

    Nesting Wizard entry point on Sheet2Nest
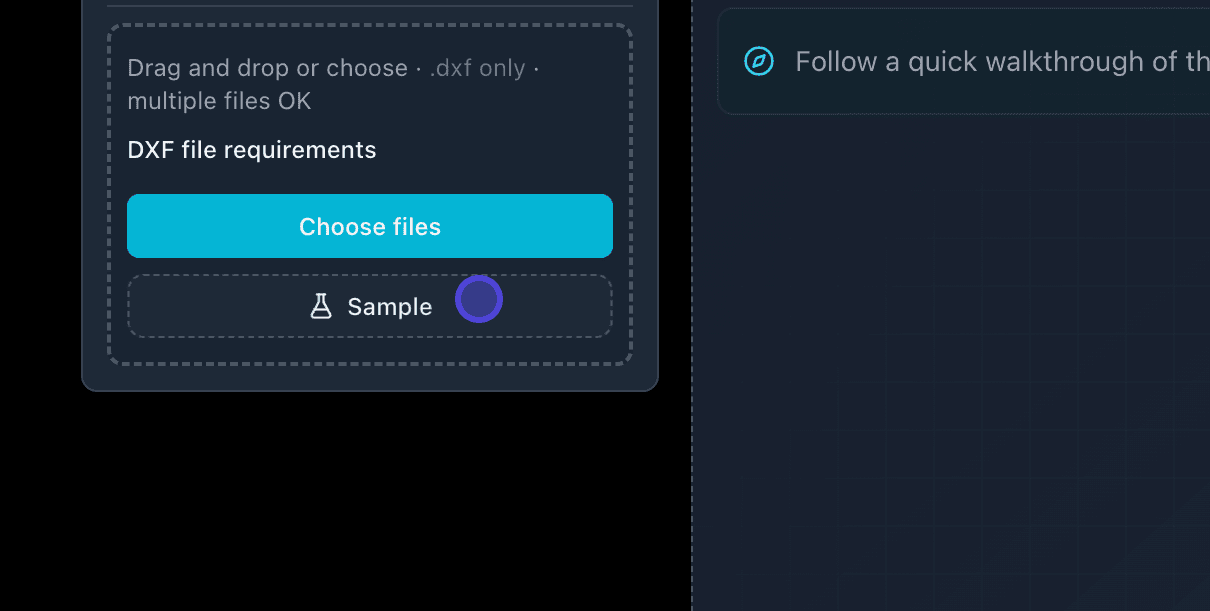
  3. On the upload step, click Sample to load demo geometry without uploading your own file yet.

    Sample DXF button on the parse step
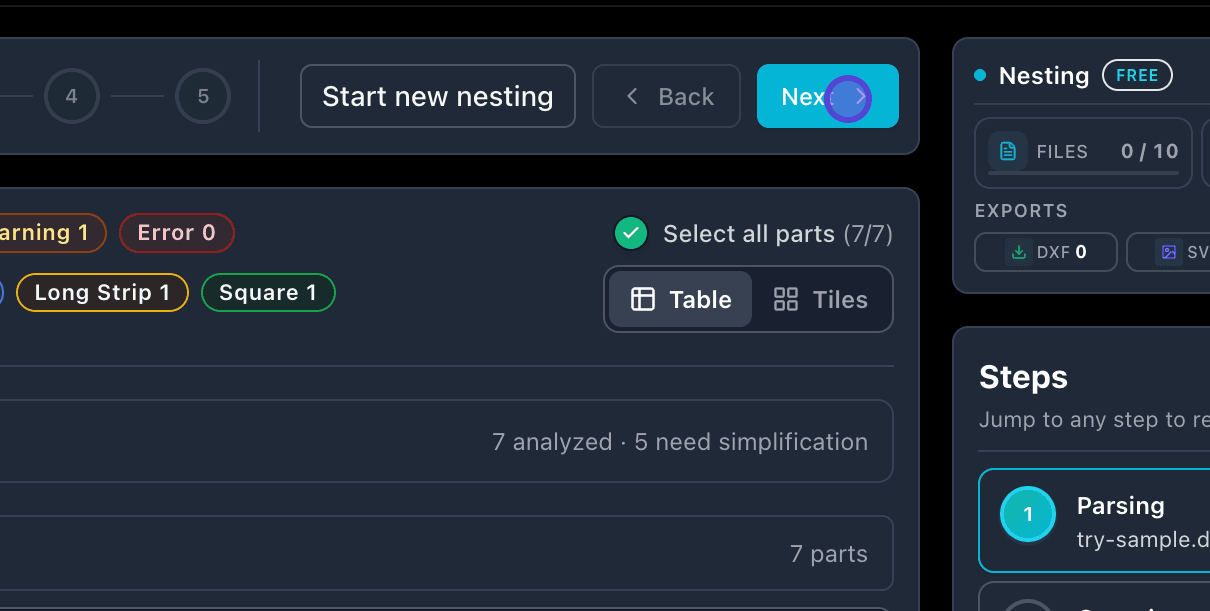
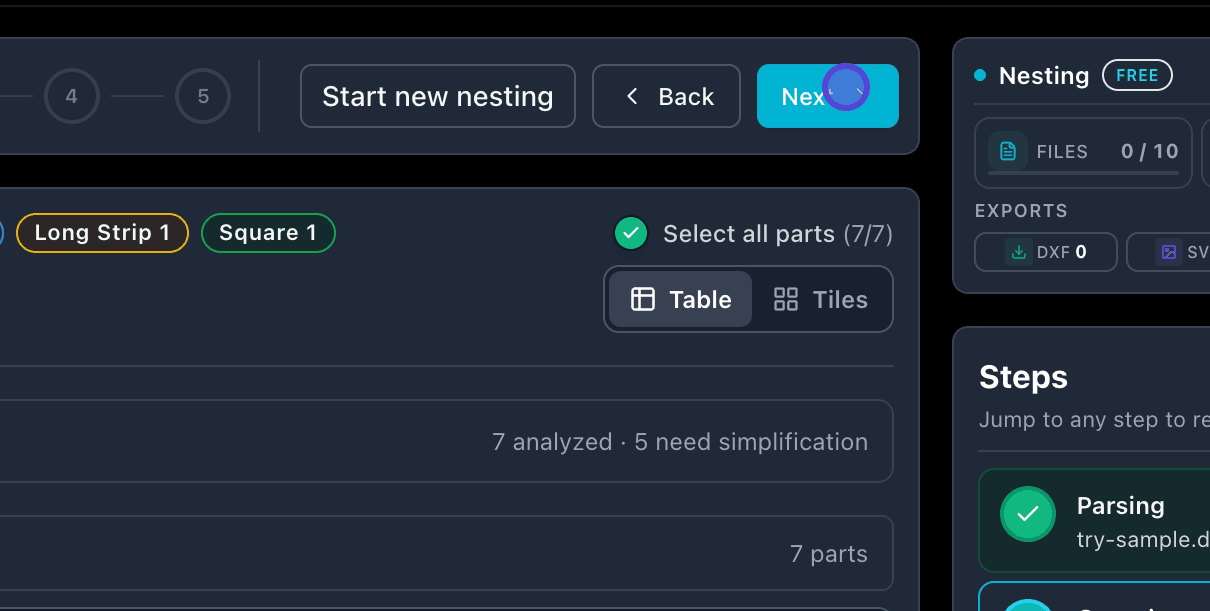
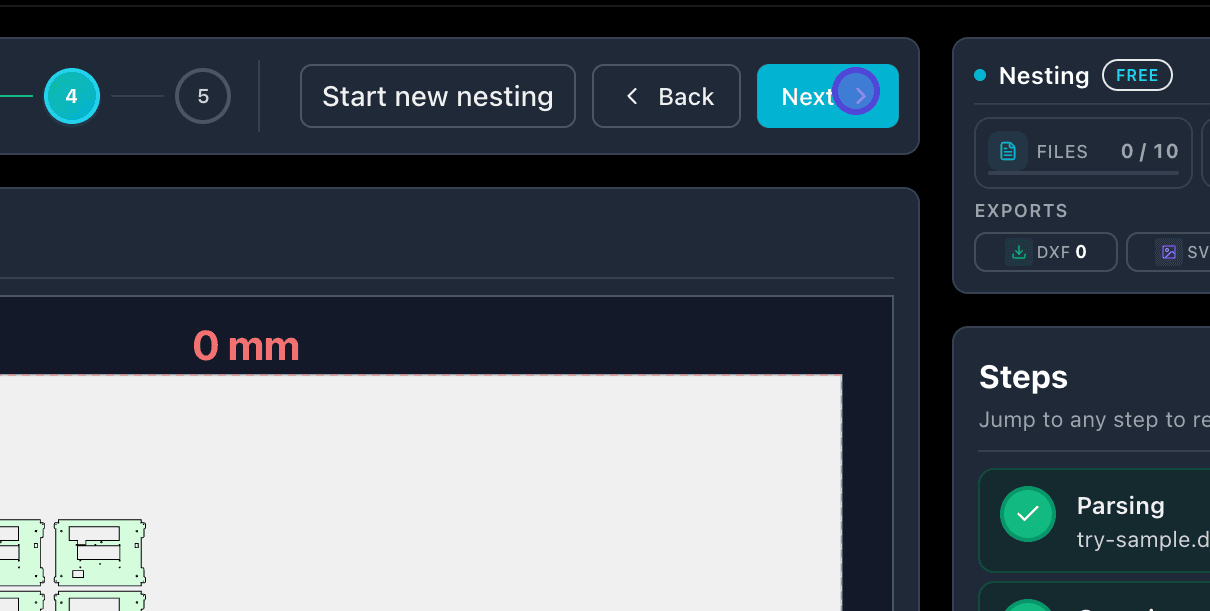
  4. After parsing finishes, click Next to review detected parts.

    Next button after DXF parse
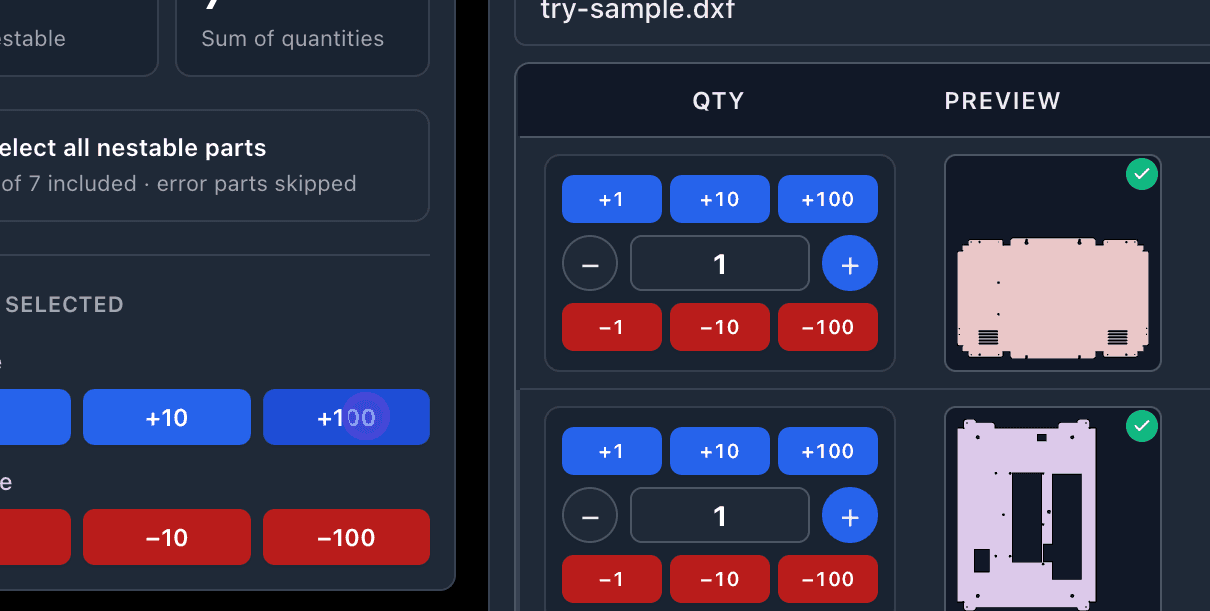
  5. On the quantities step, use +100 (or type a quantity) for the parts you need on the sheet.

    Quantity step with +100 control
  6. Select a part row to inspect its preview and confirm detection before nesting.

    Highlighted part in the quantities table
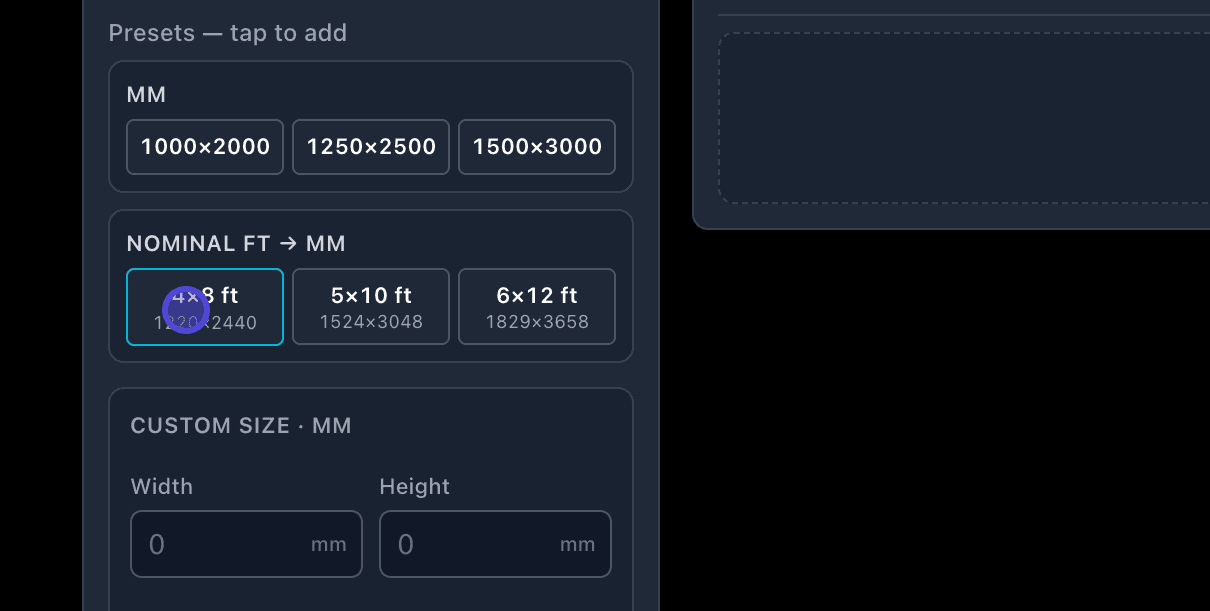
  7. Pick a standard sheet size—here the 4×8 ft preset—or enter custom dimensions.

    4 by 8 foot sheet preset on sheets step
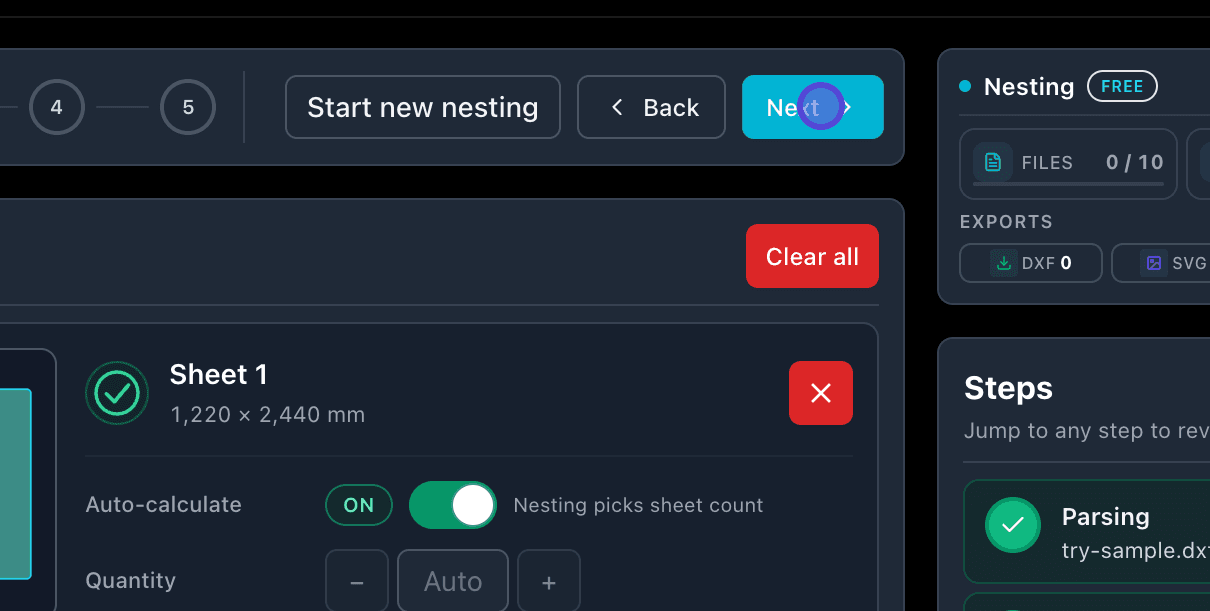
  8. Click Next to move from sheet setup to part spacing and margins.

    Next button on sheets step
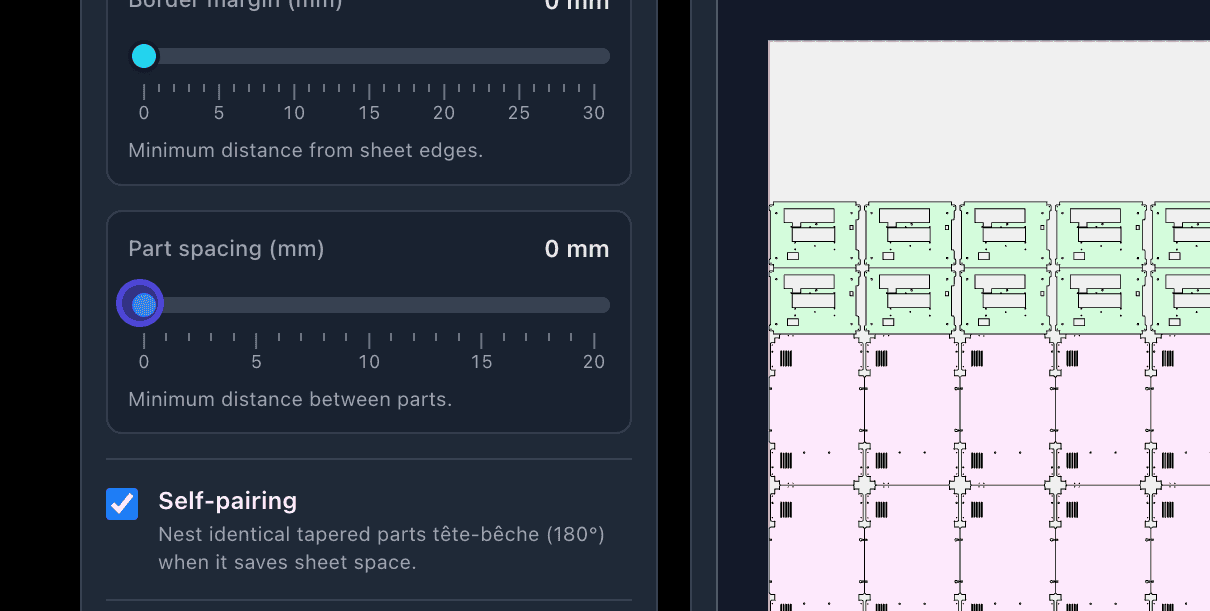
  9. Set part spacing (and margins if needed) for your laser, plasma, or CNC process.

    Part spacing controls
  10. Click Next to launch the nesting run with your chosen settings.

    Next button before nesting run
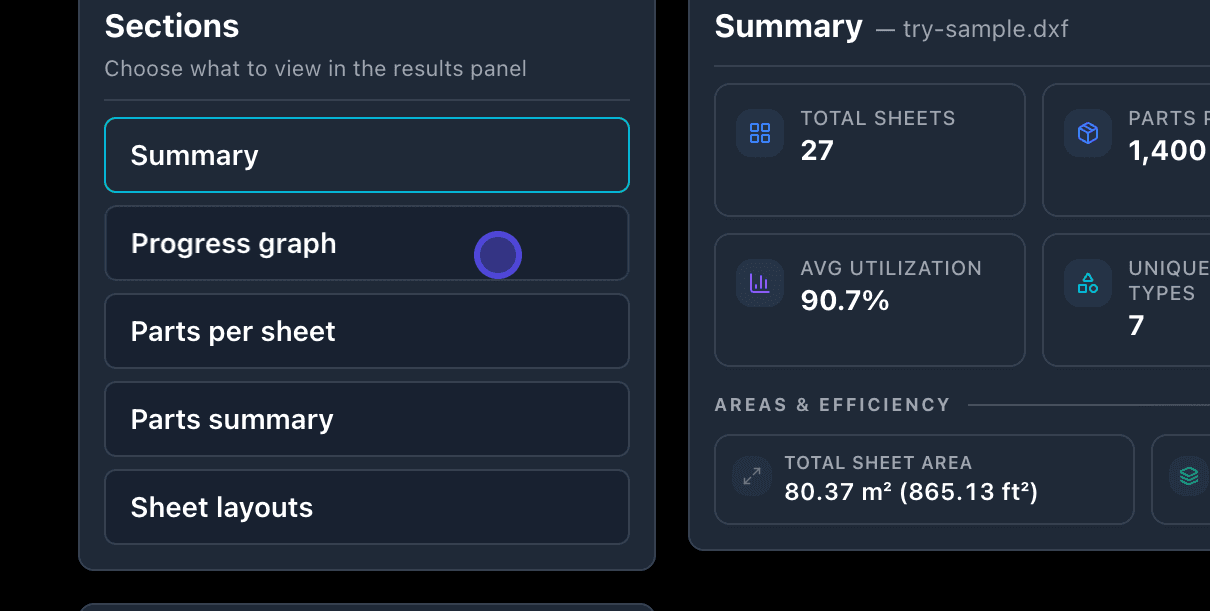
  11. While the nest runs—or when it completes—open Summary for utilization and sheet counts.

    Nesting run summary panel
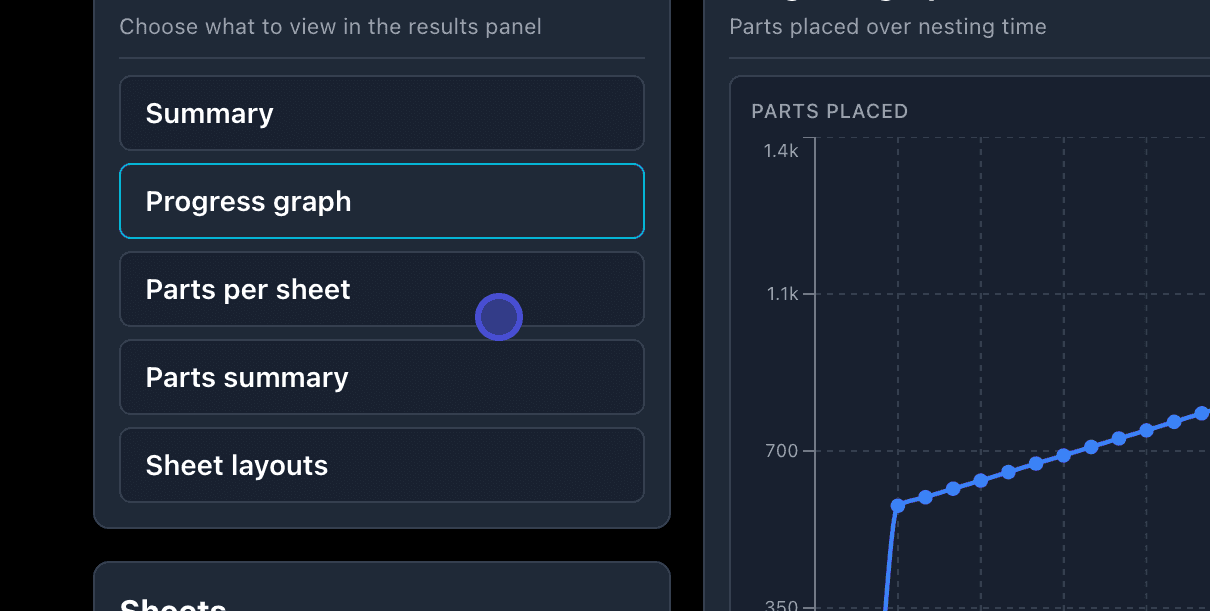
  12. Watch live utilization and progress on the graph during optimized runs.

    Nesting progress graph
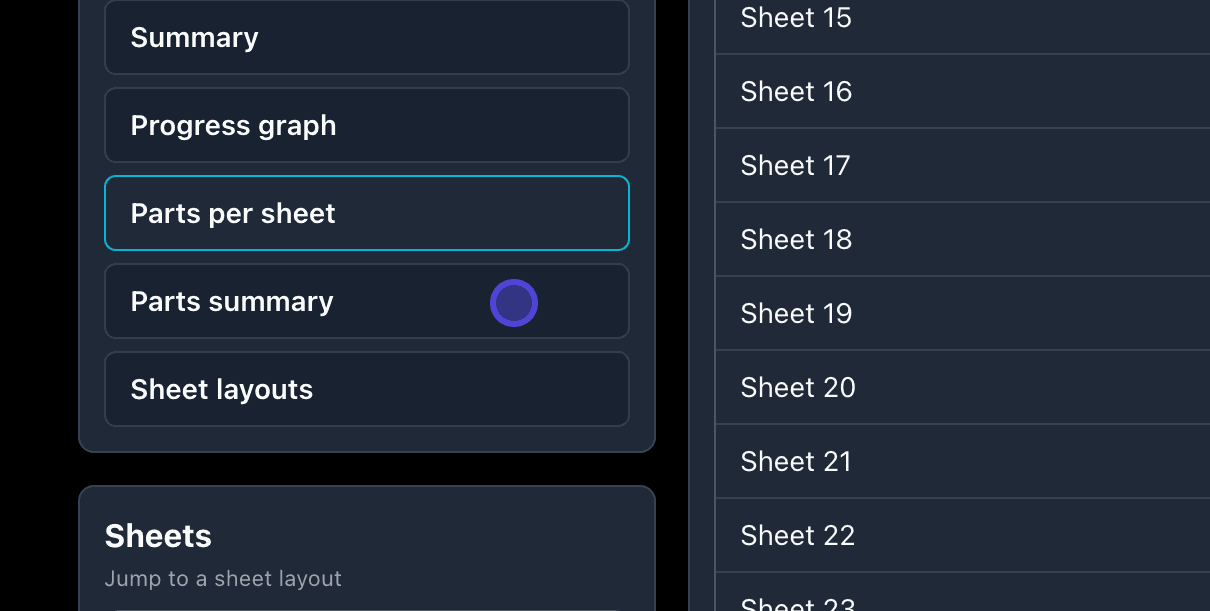
  13. See how many parts fit on each sheet in the parts-per-sheet breakdown.

    Parts per sheet metrics
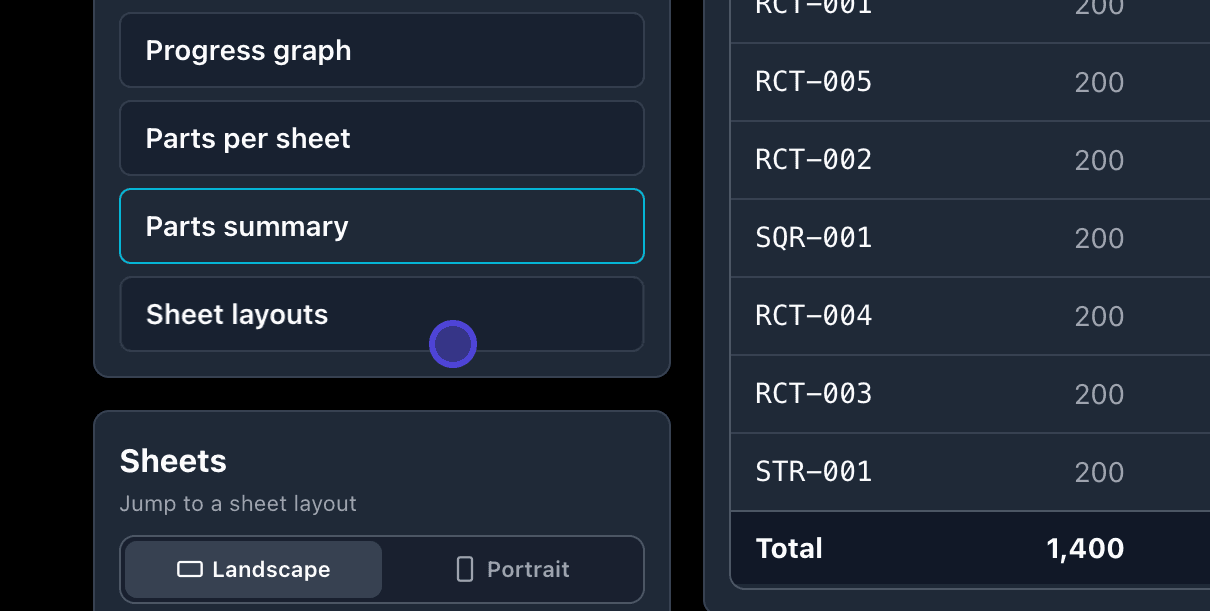
  14. Confirm totals and part counts in the parts summary before exporting.

    Parts summary table
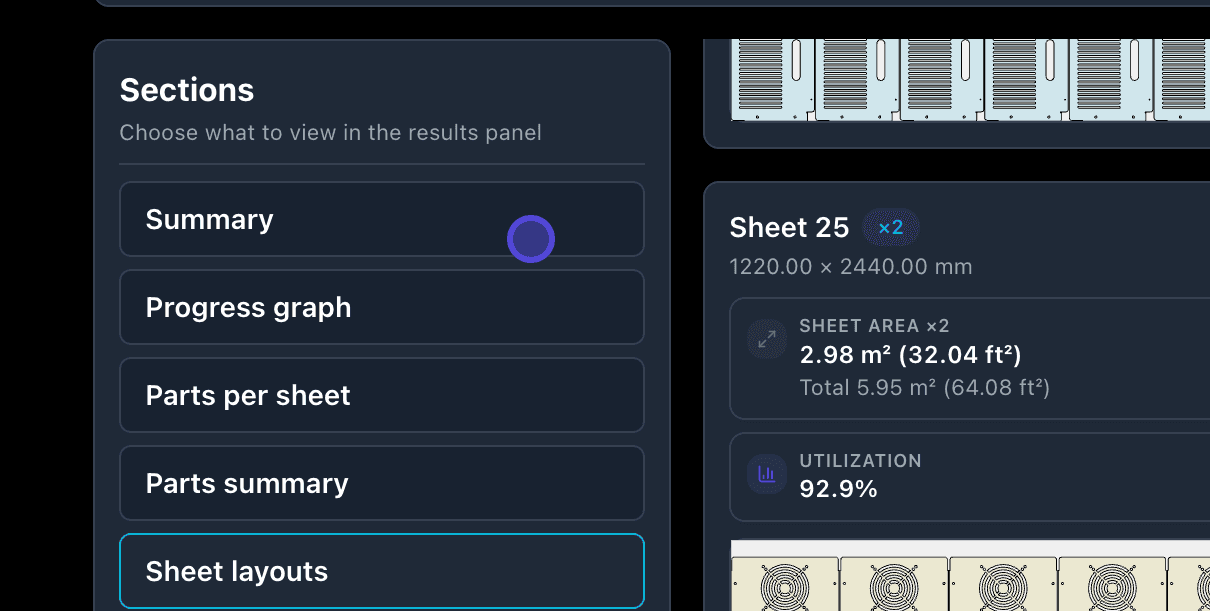
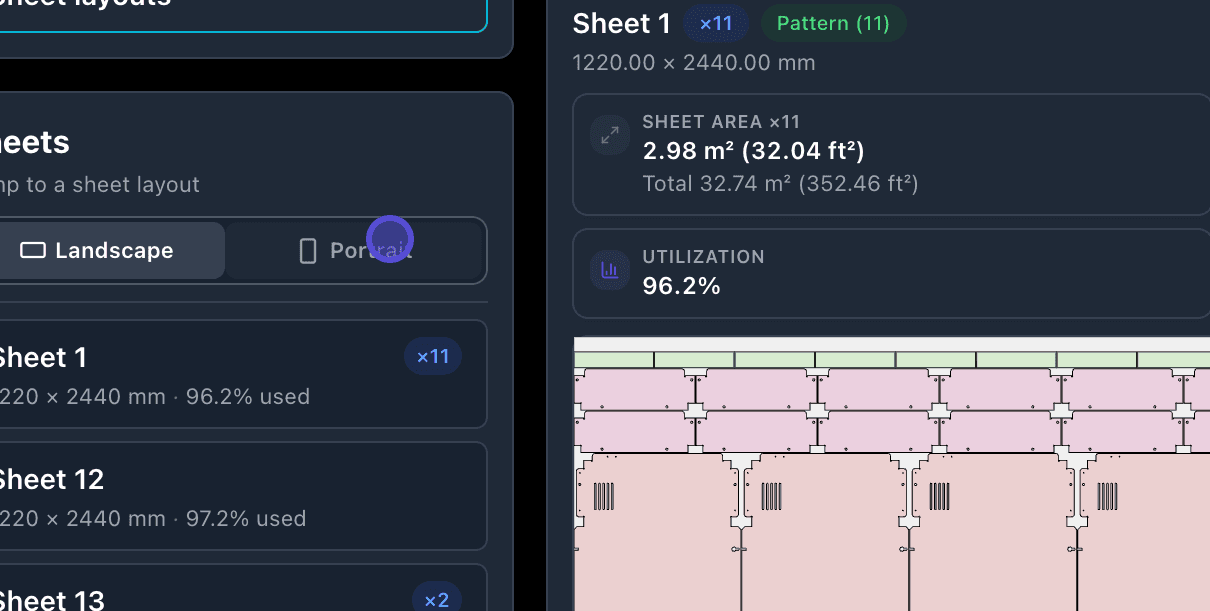
  15. Open Sheet layouts to preview each nested sheet visually.

    Sheet layout preview grid
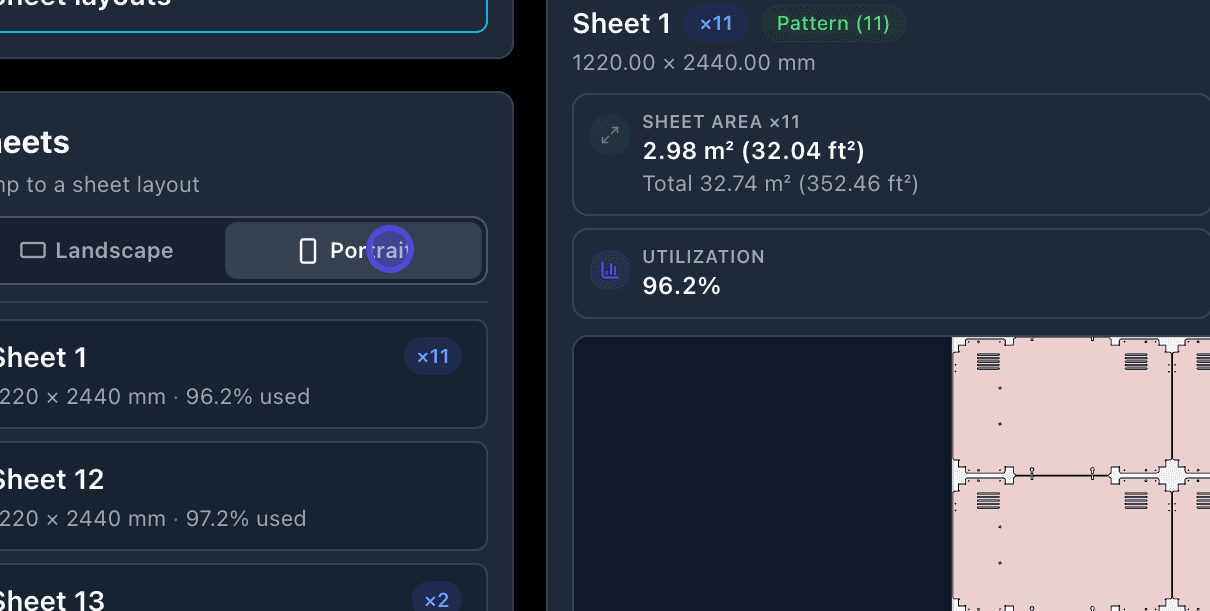
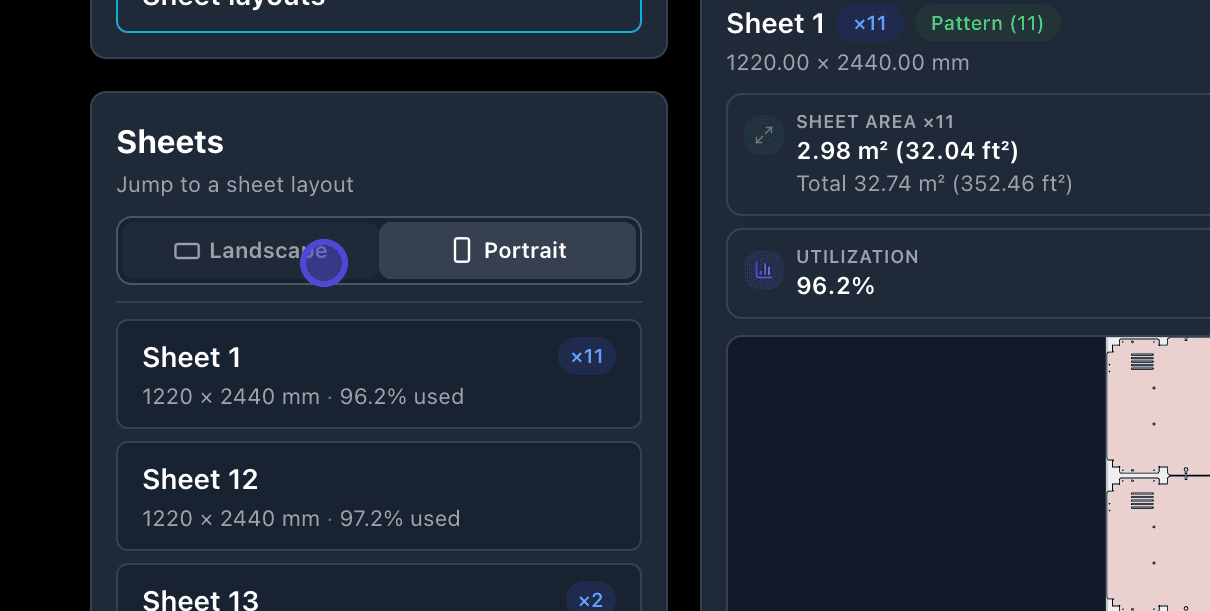
  16. Switch the layout preview to portrait orientation when reviewing tall sheets.

    Portrait orientation on sheet layout
  17. Zoom and pan the portrait layout to verify part placement before export.

    Portrait sheet layout detail
  18. Toggle landscape to see the same sheet with width and height swapped.

    Landscape orientation on sheet layout
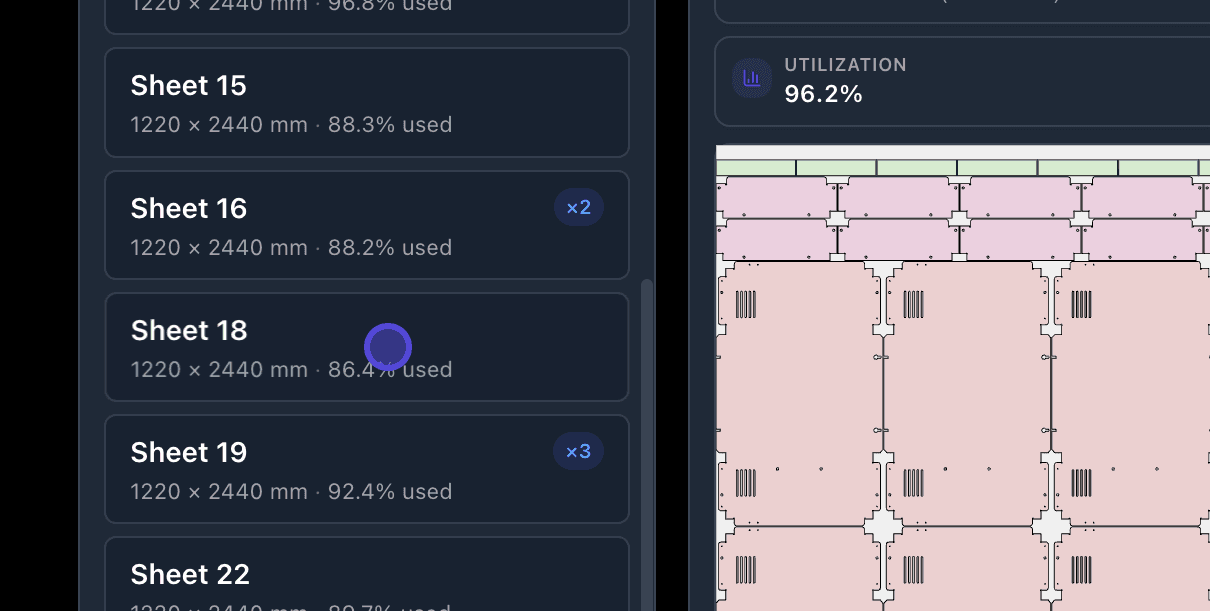
  19. Select individual sheets from the sheet list—for example sheet 18 on large jobs.

    Selecting sheet 18 in layout viewer
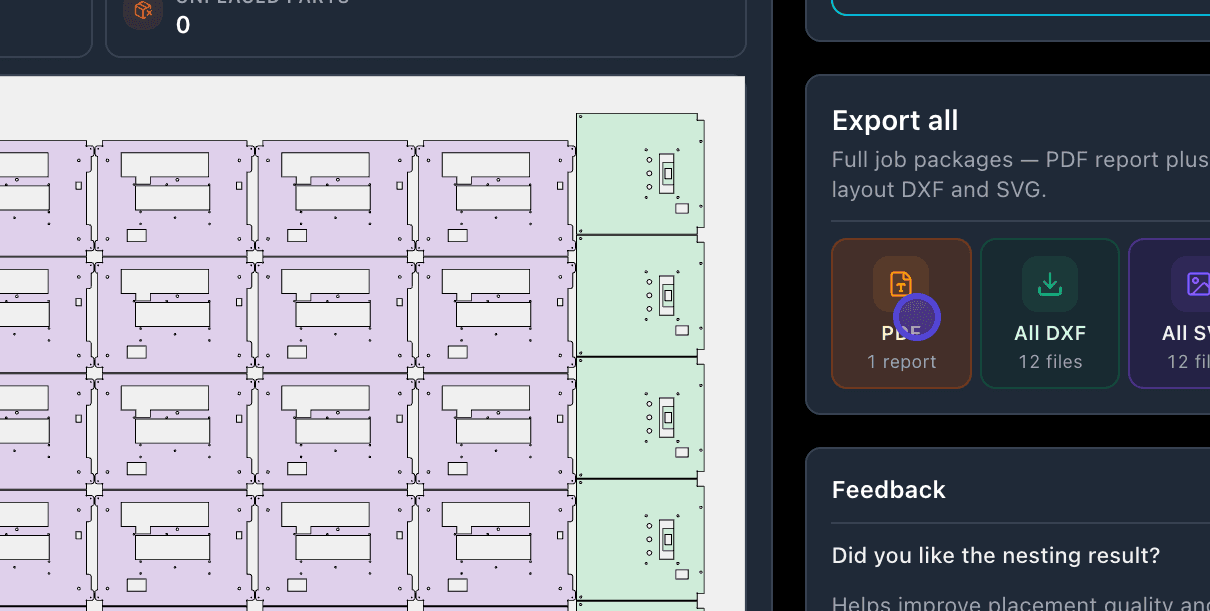
  20. Download a PDF nesting report with utilization and sheet visuals for production or customers.
    PDF export on nesting results

Related questions

Do I need my own DXF file for this guide?

No. Step 3 loads the built-in sample DXF so you can learn the wizard before uploading production files.

Which wizard step sets sheet size?

The Sheets step (steps 7–8) is where you pick presets like 4×8 ft or enter custom width and height.

Where do I export nested layouts?

After nesting completes, use export actions on the results step for nested DXF, SVG, or PDF depending on your plan.

Ready to nest your own DXF files?

Start free nesting